Anime is short for animation, coming with a consistent wave of popularity between generations. The vivid anime characters are gradually grow as the part of people’s life. They tend to be highly satisfied in life because of the energy transmitting from them. Why are they so popular?
Anime showcases the power of imagination, it improves your imagination significantly and discovers a part of your mind that you never knew you could get into. The scenes in anime always have the magic to cure your heart, making you feel peaceful. The biggest advantage of anime is its storytelling. The character development is the key in anime. You will really think these characters real, and that is exactly the magic of anime. Thanks to these engaging animated characters, we have the chance to experience these beauties.
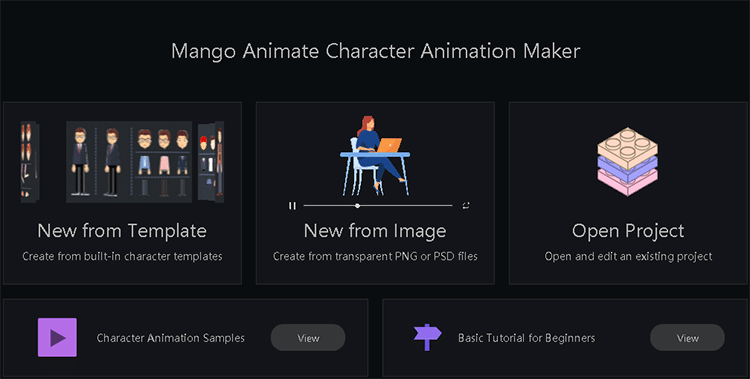
The fact is, nowadays, there are so many tools on the market for you to make your cartoon character. And even non-professional can create your own anime character. With the character, you can further to make out an anime video. Luckily, creating an anime character is not that difficult as long as you have the right tool and a complete tutorial. The coincidence is that this article will show you the complete process of how to create your own anime character with the best anime maker-Mango Animate Character Animation Maker.
If you are ready, let’s dive right in.
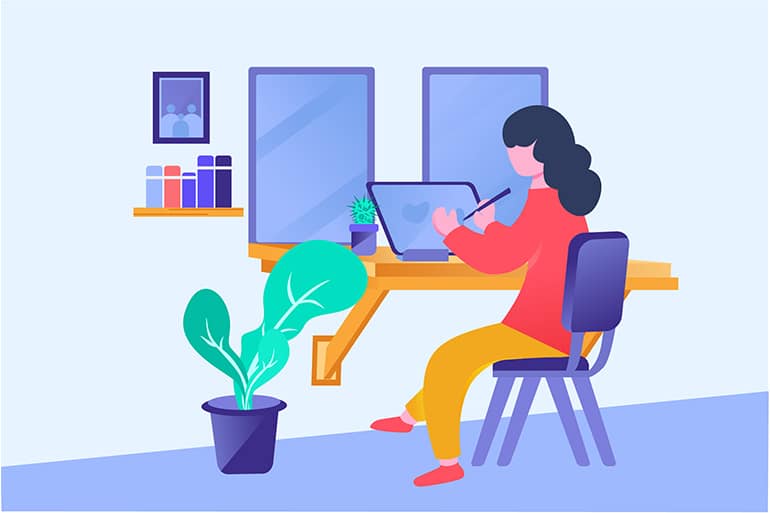
- Determine Your Anime Character
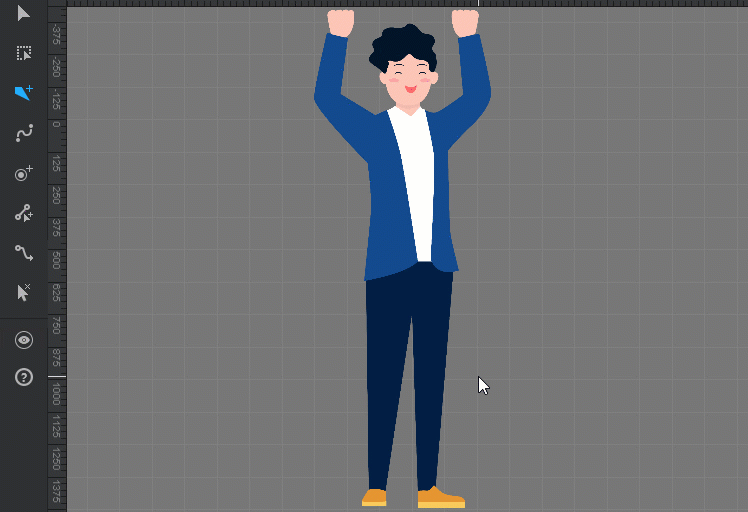
As said above, character is so key in anime. In this step, you need to consider carefully and determine the best and suitable anime character for your project. If you do not have the suit one, you can select one from Mango Animate Animation Maker. It comes with plenty of well designed characters for you. Each character has the front version and side version. You can modify your character in the way that you prefer. If you have your own character material, that’s great. Mango Animate Character Animation Maker allows you to import PNG and PSD files.

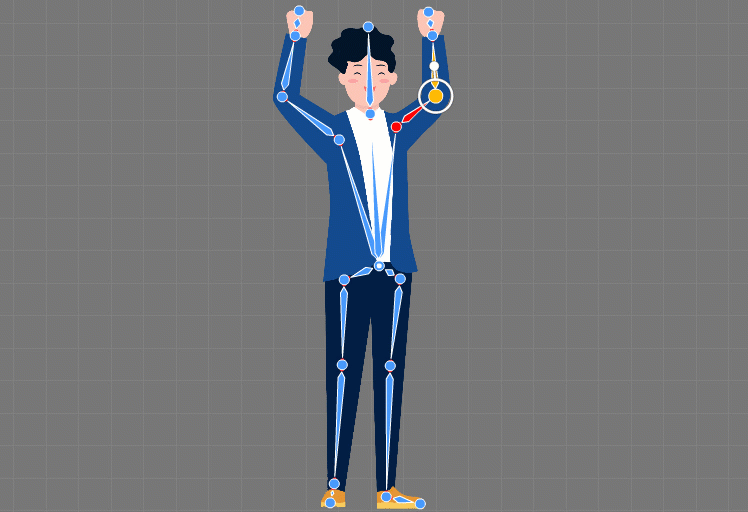
- Add Bones
The built-in character already has a complete skeleton, so if you are working with the built-in character, this step can be skipped. If you are working with your own material, then you need to add bones to your character so that it will have the ability to move.
An animated anime consists of a skin mesh, aka your imported file, and an associated bone structure. So moving a bone will move the associated vertices of the mesh at the same time. So this principle is exactly the same as happens in reality just like us.
Creating a skeleton might be complicated, but if you get to know about the principle of it, it will be much easier. You need to know how bones are connected with each other. The bones have a hierarchy relationship, which means that a bone has a parent, and a bone can have a child or more. Once you move the parent, its children will all be moved too. But if you move the child, its parent will not be affected.
To create a complete skeleton, you need to create the key joints to your anime character, such as the neck, elbows, knees, hip, and others. At first, you need to set up the root bone for your anime character. This root is usually set at the backbone, or the middle place of your character. Use the straight bone tool and simply click your mouse to create a joint. Then you can continue to create its children. Move your mouse to the next place and click to add joint one by one. Between two created joints there is a bone. Go back to the root bone to create another child. The rest joint can be done in the same manner.
If your material is PSD file, then you can directly add the built-in skeleton to your anime character. This will save your time to a great extent. Once your character has a complete skeleton, you can preview and check out for any mistake, make sure that every joint is placed at the right place. Turn the straight bone into curved bone may make your character move more fluent and realistic.
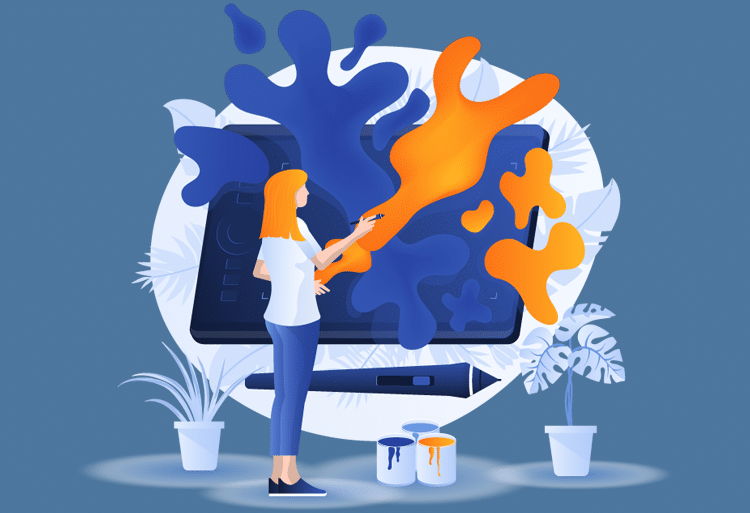
- Animate
In this step, you are aim to animate your character. Since the skeleton has already created, customize the position of the joints can change the post of your character. You can move the position of the bones and rotate according to your needs. Aligning the position of each post in the timeline to create a continuous motion of your anime character. Mango Animate Character Animation Maker features a library of up to 100 realistic motion templates for you to choose. Drag the motion template that you need to the timeline.
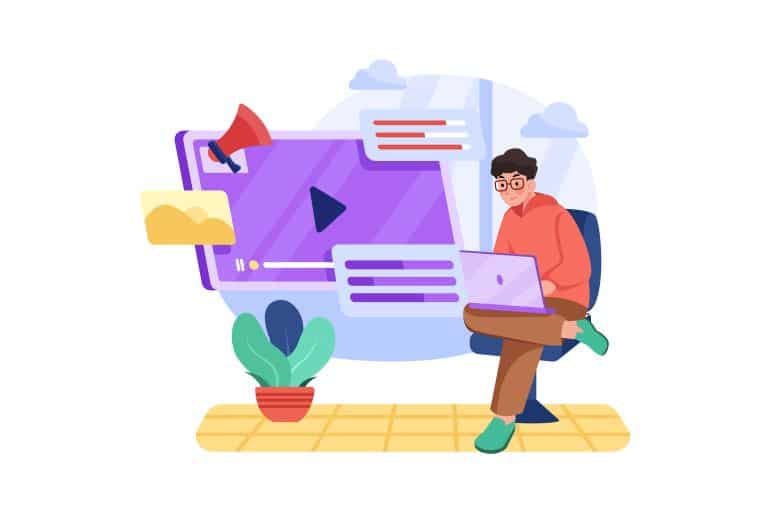
- Check And Export
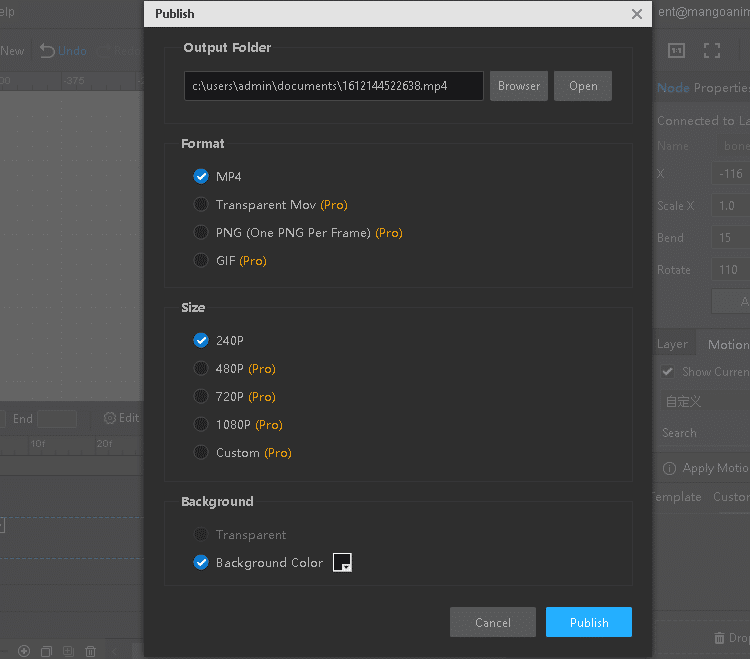
So far, the process of create your own anime character is already done. Before you export your project, preview first and check out for any mistake. As for export, Mango Animate Character Animation Maker supports exporting in various formats including PNG, MOV, MP4 and animated GIF. If you want, you can share your masterpiece to social media platform and let more people view.

Summary
It’s a fact that anime is becoming more and more popular in recent years. Its market and potential customers are keeping growing. There are many anime lovers and they try to make out their own anime. You can do this too. With Mango Animate Character Animation Maker and with the help of this complete tutorial, you are sure to create your own anime character with ease.